Importing client data into CRM begins with proper preparation.
Prepare Your Data
Review the Fields in CRM First
When working with files containing many files, it is important to note the available fields for companies and contacts in CRM prior to importing. To view the fields available for companies, click on the CRM tab in ESP and then click on the Add button.

To view the fields available for contacts, click on the CRM tab and then click on Contacts from the toolbar. Then, click on the Add button.
For example, if a column within the data sheet is for "Market", it can be mapped to the Notes field within CRM.
Use Appropriate Headings
The heading on the data columns should distinguish the type of information that is contained within the column. For example, if the file contains company contact information, use "company" in front of the type of data, such as "company address" or "company zip". Doing so enables the ESP CRM system to better identify between company and contact demographics.

Separate the First and Last Names of Contacts
Put contact first names in one column and their last names in a separate one.

If the data contains full names within a single column, you will need to separate the name into two columns.
Save the file in a .CSV format
To save a spreadsheet as a .CSV file, click on the File tab.

Click on Save As.

Use the "Save as type" dropdown to select "CSV (MS-DOS) (*.csv)".

After the file is properly prepared, log into ESP Web. Then, click on the CRM tab. In the CRM section, click on the Import button.

The first step to select the type of file you would like to import.

If you are working with a CSV, Outlook or Google file, choose whether you are importing Companies or Contacts. If your data file contains both company and contact information, select Companies. Then, click on the Choose File button to browse your computer for the data file you want to import.

If you are working with an IIF or vCard file, you can use the dropdown to select the record owner and then click on the Choose File button to browse your computer for the data file you want to import.

Locate the file on your computer, select it and then click on Open. The file will upload and all columns will be available for mapping.

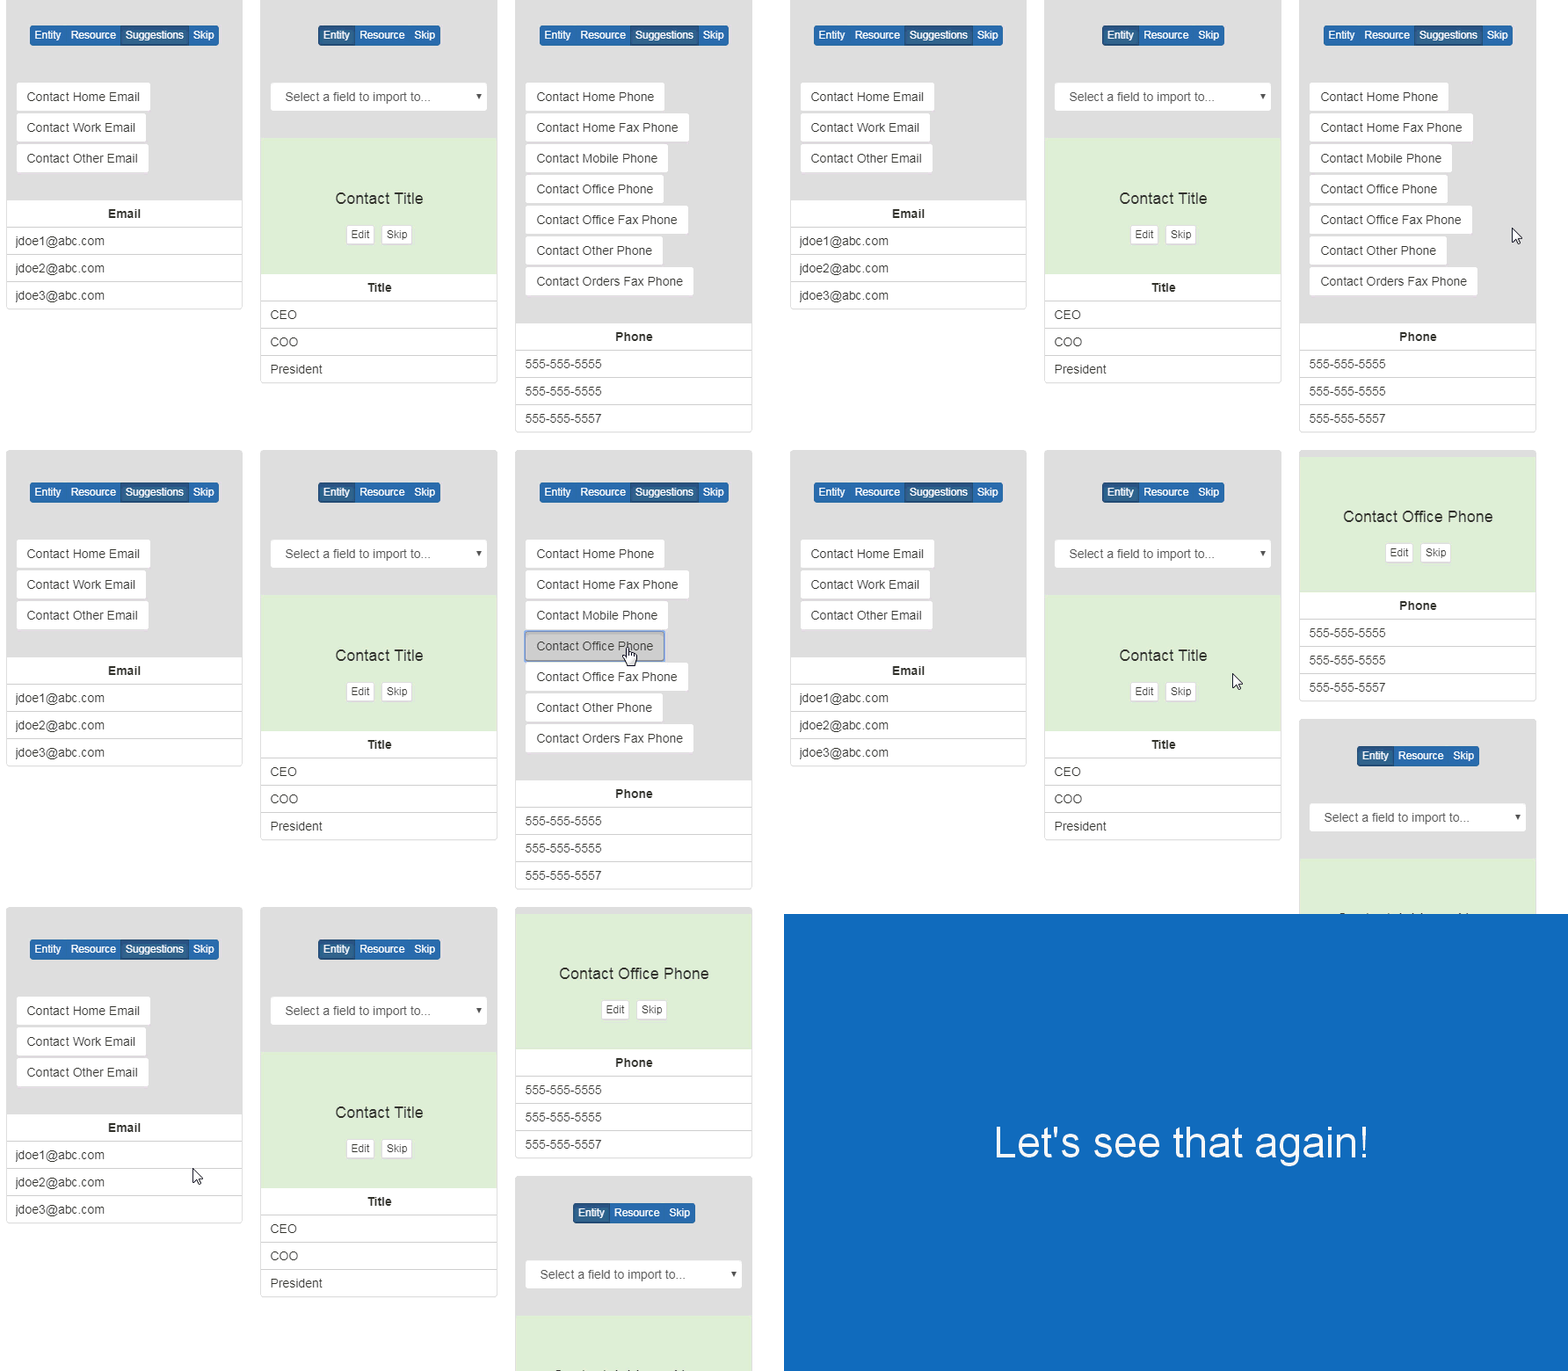
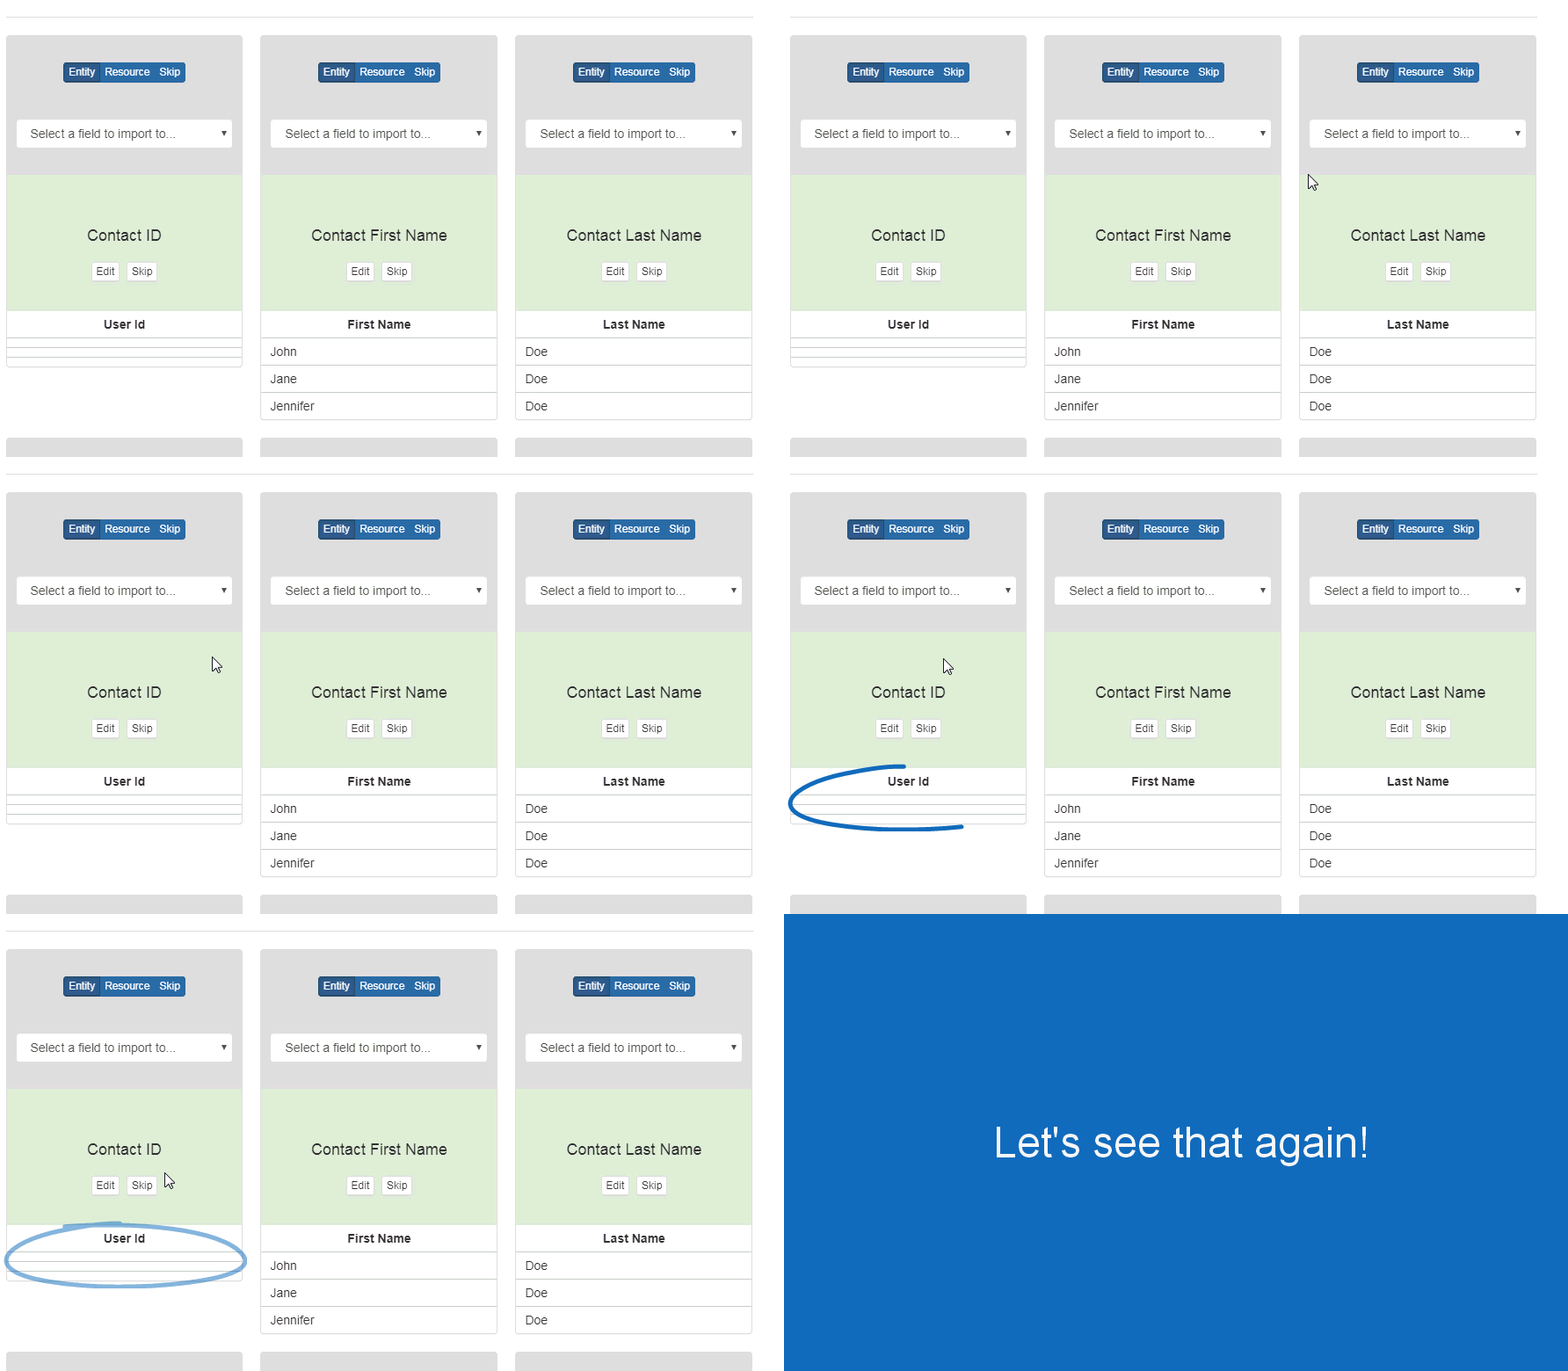
Each column from the data file will need to be mapped to a location within CRM. Fields that have been automatically mapped will display with a green background. To change the field to which the column has been mapped, click on the Edit button and then use the Entity and Resource options to select a field. An entity is a general field, such as company address or contact first name. A resource is a more specific field, such as a Company Email or Contact Tag.

Columns which have not been automatically mapped will display with a gray background with a blue toolbar for mapping. Suggestions will display with clickable field options. Click on an option to map the column to that field.

If there is a field in the uploaded file which you do not want to map, click on the Skip option.

After all of the fields have been mapped, click on the Complete Import button.

Once all of the information has been imported, you will see a pop-up notification in the lower right corner of your screen.


